 MAPI
MAPIHow to Fix a Door That Sticks
A door can stick because the hinges have loosened, the frame has shifted slightly, paint has built up, or the wood has swollen with humidity. The repair is easier when you find the exact contact point before removing any material. Start with hinge and alignment checks because they are reversible; sand or plane the door only when the edge itself is clearly too tight.
Close the door slowly and mark where it rubs. Tighten loose hinge screws first, then adjust the hinges or strike plate if alignment is the problem. If swollen wood is rubbing, let it dry if possible and lightly sand or plane only the high spot.
Things you'll need
- Screwdriver that fits the hinge screws
- Pencil or removable chalk
- Straightedge or small level
- Fine-grit sandpaper
- Wood block for sanding
- Longer hinge screw if a hinge screw hole no longer holds
- Hand plane only if significant wood removal is necessary
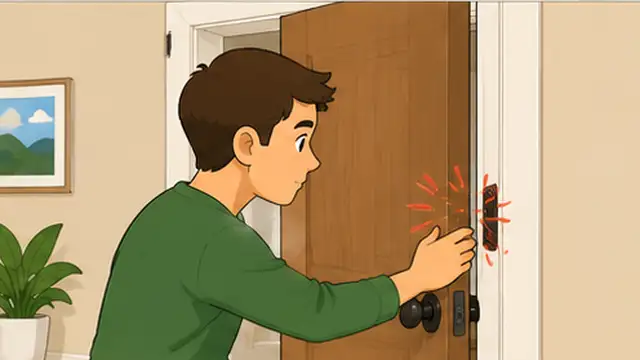
Find where the door rubs
Open and close the door slowly while watching the gaps around the top, latch side, and hinge side. Look for shiny paint, scuff marks, or an edge that touches the frame before the rest of the door. Mark the rubbing area lightly with pencil or removable chalk so you know exactly where the problem is.
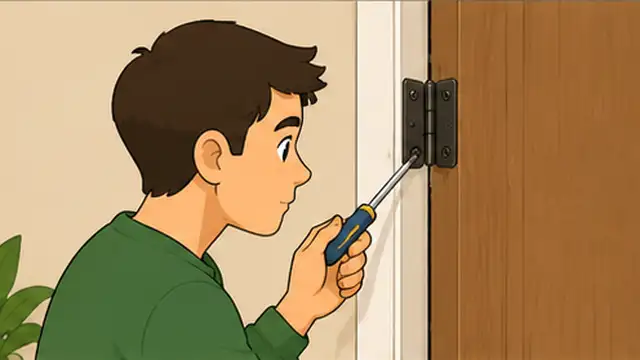
Tighten the hinge screws
Support the door and tighten every screw on the hinges, starting with the hinge attached to the frame. A loose upper hinge often lets the latch side sag and rub near the top. Tighten firmly without stripping the screw holes, then test the door again before making any other change.
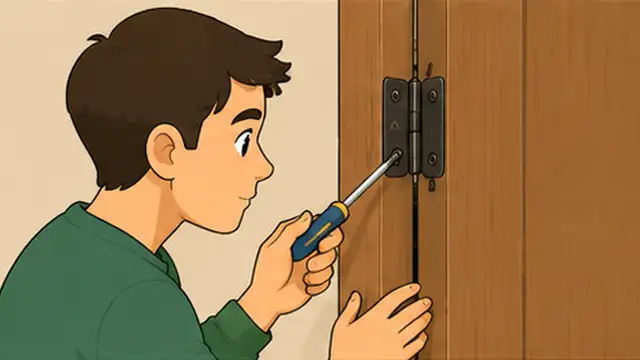
Repair a loose hinge screw if needed
If a hinge screw turns without tightening, the hole may be stripped. For a frame-side hinge, a longer screw of the correct diameter can sometimes reach solid framing behind the jamb and pull the hinge back into position. Use only enough force to seat the hinge flat; overtightening can distort the jamb.
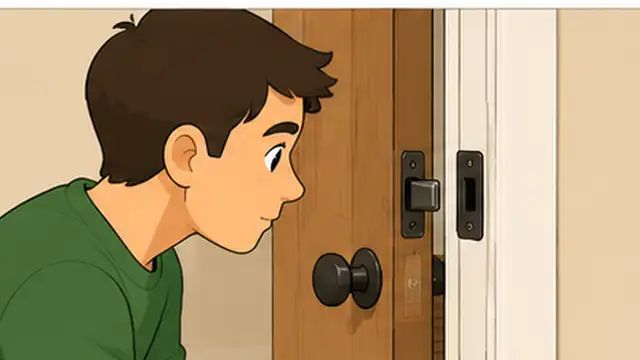
Adjust the strike plate if the latch binds
If the door swings freely but becomes difficult only when the latch reaches the frame, inspect the strike plate. Look for rub marks around the opening. Loosen and reposition the plate slightly when the latch is clearly hitting its edge, then tighten it and test the handle several times.
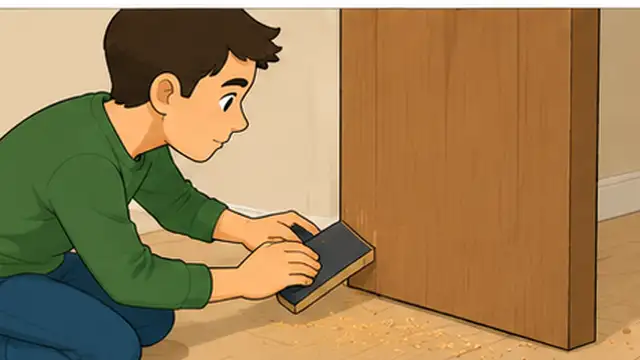
Sand a small swollen high spot
If the hinges are secure and the marked door edge itself is rubbing, remove the door if necessary for safe access and sand only the high spot. Use fine-grit sandpaper wrapped around a flat block and check the fit often. Remove as little wood as possible so you do not create a large uneven gap when humidity drops.
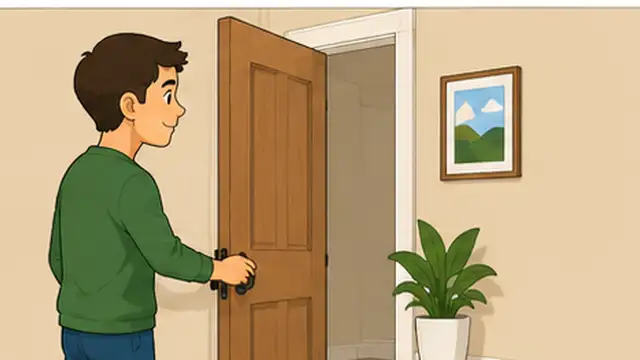
Seal the exposed wood and test the door
After sanding or planing, remove the dust and seal the exposed wood with a compatible primer, paint, or clear finish so it is less likely to absorb moisture. Rehang the door if you removed it, then open and close it several times. The door should move freely without scraping and should latch without needing extra force.
Tips & common mistakes
Tips for best results
- Check the door during both dry and humid weather if the sticking is seasonal; wood movement may explain why the problem comes and goes.
- A sheet of paper placed between the door and frame can help identify a tight area: it will drag or tear where the gap is smallest.
- If the upper latch-side corner rubs, inspect the upper hinge carefully before sanding the door.
- Paint buildup on the door edge or frame can sometimes be the real high spot; remove only loose or excessive buildup rather than sanding good wood.
- Keep bathroom and laundry-room ventilation working well because repeated high humidity can make wooden doors swell.
Common mistakes
- Sanding before checking the hinges: A loose hinge can cause the same rubbing and is usually easier to fix without removing wood.
- Removing too much material at once: The door may stop sticking now but develop a large gap when the wood dries later.
- Overtightening a long hinge screw: Too much force can pull or twist the jamb and create a new alignment problem.
- Ignoring the strike plate: If the door moves freely until the last centimetre, the latch may be binding rather than the door edge.
- Leaving freshly sanded wood unsealed: Bare wood can absorb moisture more easily and may swell again.
Frequently asked questions
Why does my door stick only in humid weather?
Wood absorbs moisture from humid air and can expand slightly. A door that has very little clearance may begin rubbing during damp seasons and move freely again when conditions become drier.
Should I sand the door or the frame?
Usually sand the clearly marked high spot on the door only after confirming the hinges and frame alignment are correct. Avoid removing material from the frame unless you know the frame itself is the problem.
Why does the top corner of my door rub?
A loose upper hinge or sagging door is a common cause. Tighten the hinge screws and check the alignment before sanding the top edge.
Why does my door close but the latch sticks?
The latch may be hitting the edge of the strike plate. Look for scrape marks and adjust the strike plate slightly if the door itself swings freely.
When should I use a hand plane instead of sandpaper?
Use a plane only when the door edge needs more material removed than light sanding can handle. Take very thin passes and test often because a plane removes wood quickly.
Written by Mapiance Editorial Team
The Mapiance Editorial Team researches, writes, reviews, and maintains practical guides and explainers for MAPIANCE.
Published Aug 24, 2026 · Updated Sep 15, 2026