 MAPI
MAPIHow to Fix a Leaky Faucet
A faucet usually leaks because a small internal sealing part has worn out, hardened, or become damaged. The exact repair depends on whether the faucet uses a compression valve, cartridge, ceramic disc, or ball mechanism. Start by shutting off the water and identifying the faucet type before buying replacement parts.
Shut off the water under the sink, close the drain, and remove the faucet handle. Replace the worn washer, O-ring, cartridge, or valve part that matches your faucet type, then reassemble the faucet and turn the water back on slowly. If the faucet body, valve seat, or supply line is damaged, the repair may require a larger replacement.
Things you'll need
- Adjustable wrench
- Screwdriver set
- Clean rag or towel
- Replacement washer, O-ring, cartridge, or valve part that matches the faucet
- Plumber's grease if recommended for the replacement seals
- Small container for screws and parts
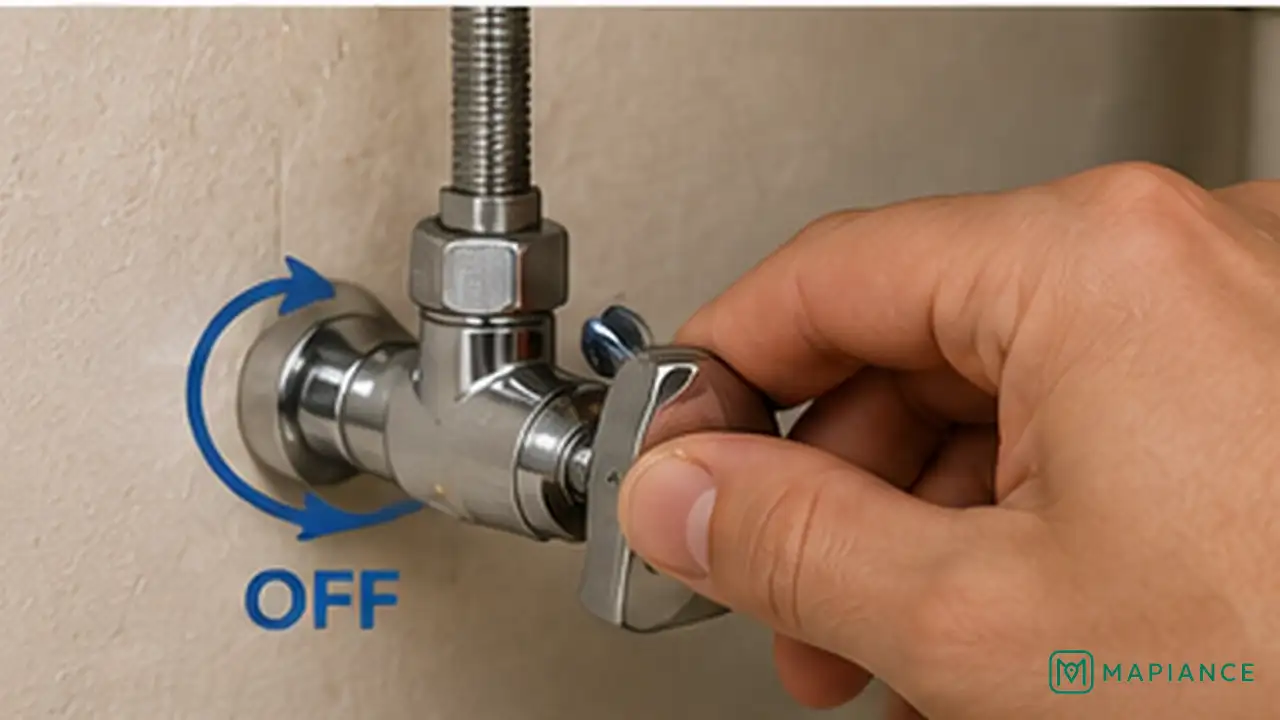
Shut off the water
Turn off the hot and cold shutoff valves under the sink. Open the faucet to release trapped pressure and confirm that the water has stopped. If the local shutoff valves do not work, close the main water supply before taking the faucet apart.
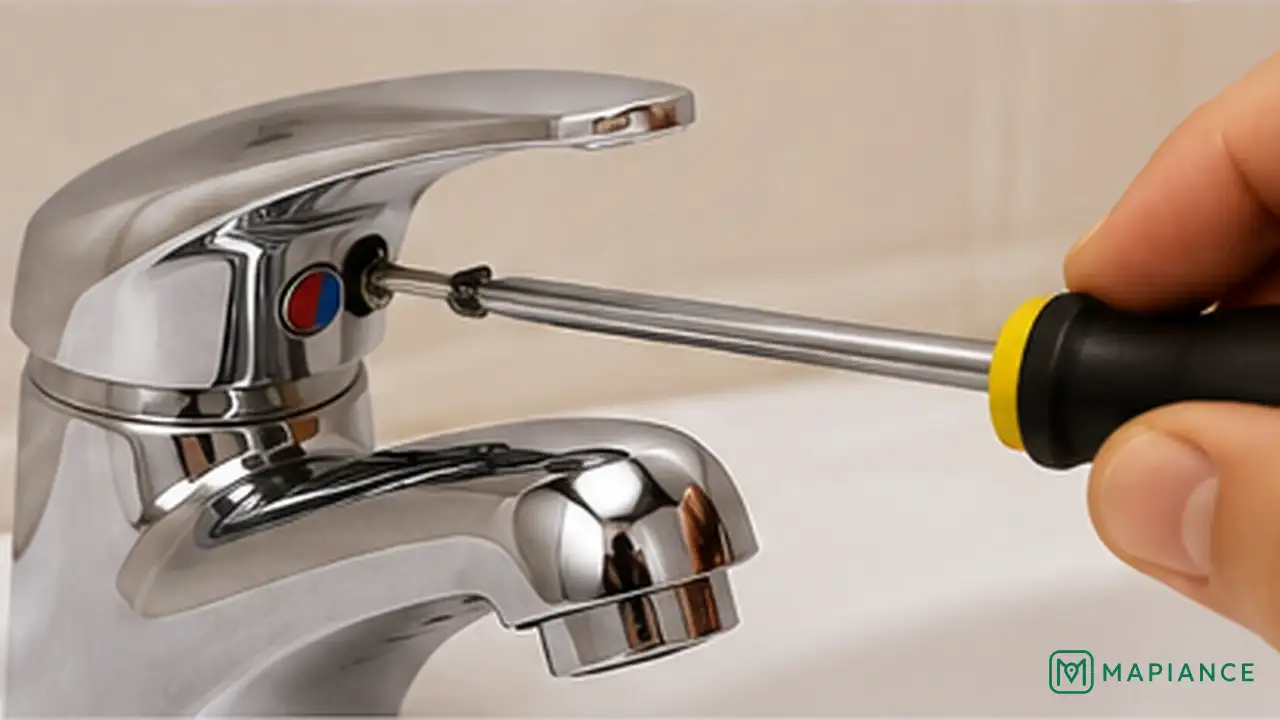
Protect the sink and remove the handle
Close the drain or cover it with a rag so small screws cannot fall inside. Remove the decorative cap if the faucet has one, then loosen the handle screw and lift off the handle. Keep the parts in order so reassembly is easier.
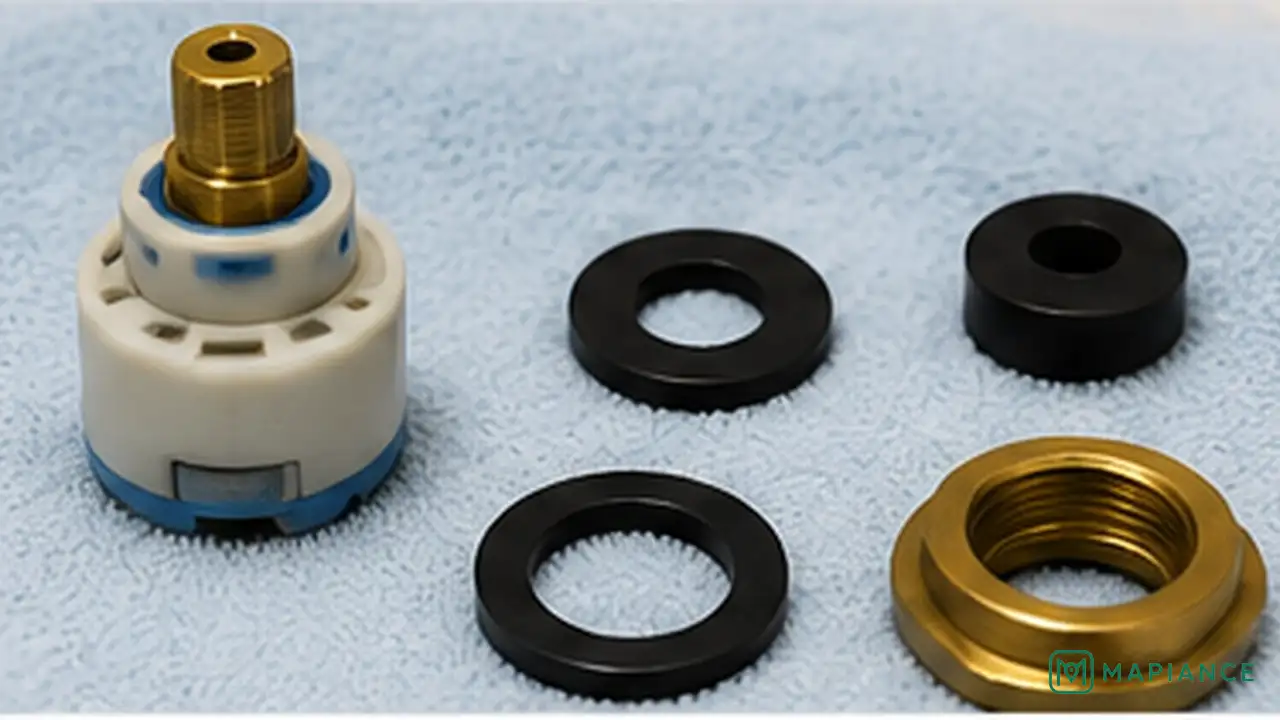
Identify the worn internal part
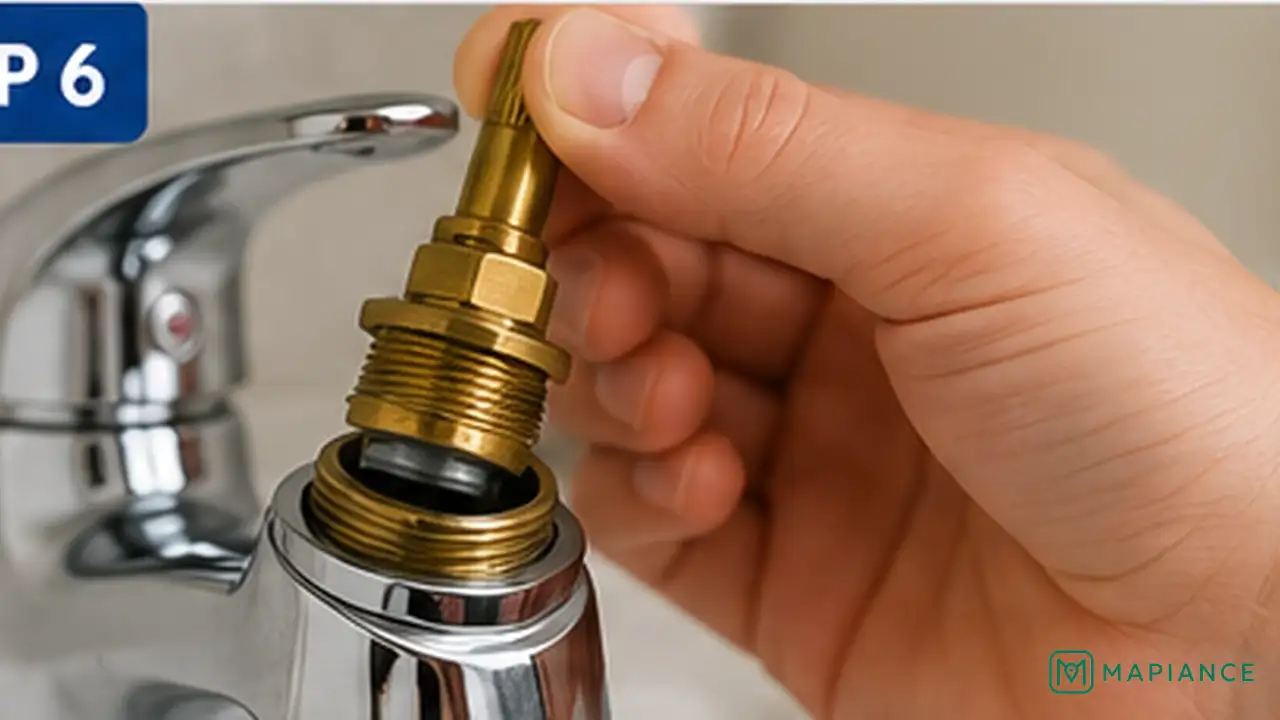
Look at the valve mechanism under the handle. Compression faucets commonly use a rubber washer, while many modern faucets use a cartridge, ceramic disc, or ball assembly. Check the removed part for cracks, flattening, mineral buildup, or damaged seals. Take the old part with you when buying a replacement so the new one matches.
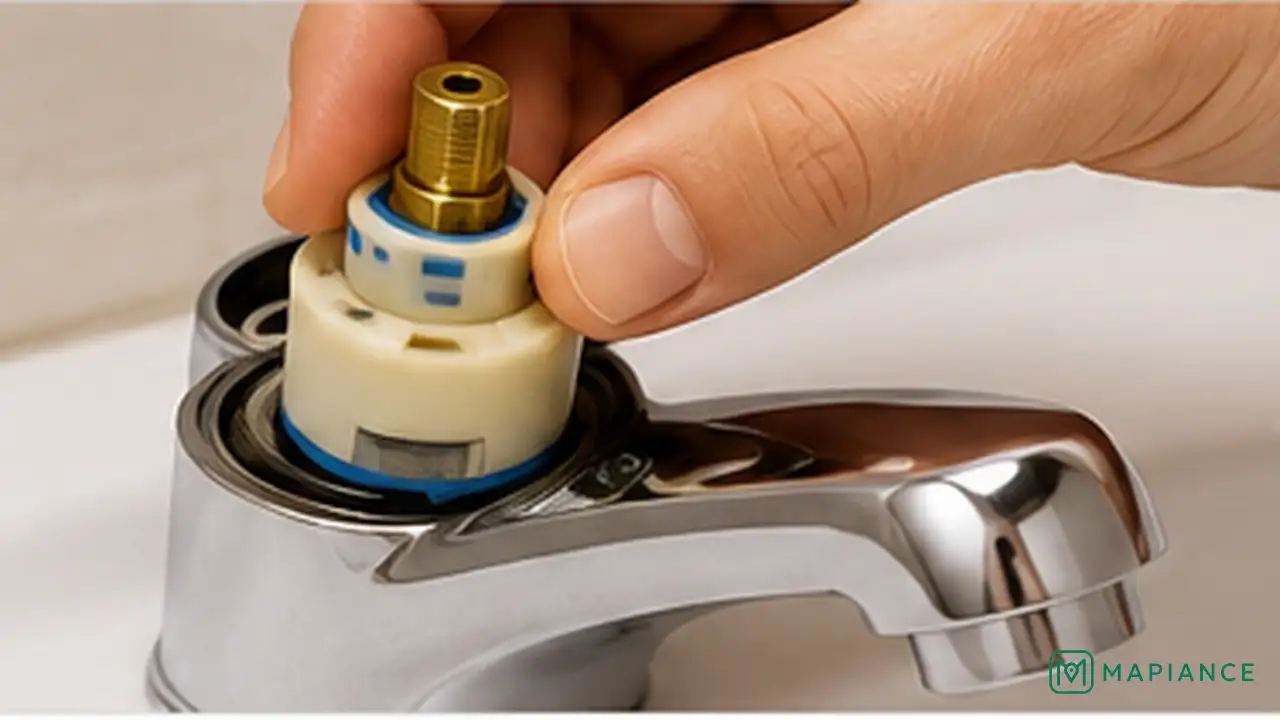
Replace the damaged seal or cartridge
Install a replacement part that matches the original. For washers and O-rings, fit the new seal in the same position and apply a small amount of plumber's grease only if the manufacturer recommends it. For cartridges or other valve assemblies, align tabs and openings exactly as the original part was installed.
Reassemble the faucet
Put the retaining nut, handle, screw, and decorative cap back in their original positions. Tighten parts firmly enough to hold them in place, but do not force plastic or delicate components. Make sure the handle moves normally before restoring the water supply.
Turn the water on and test for leaks
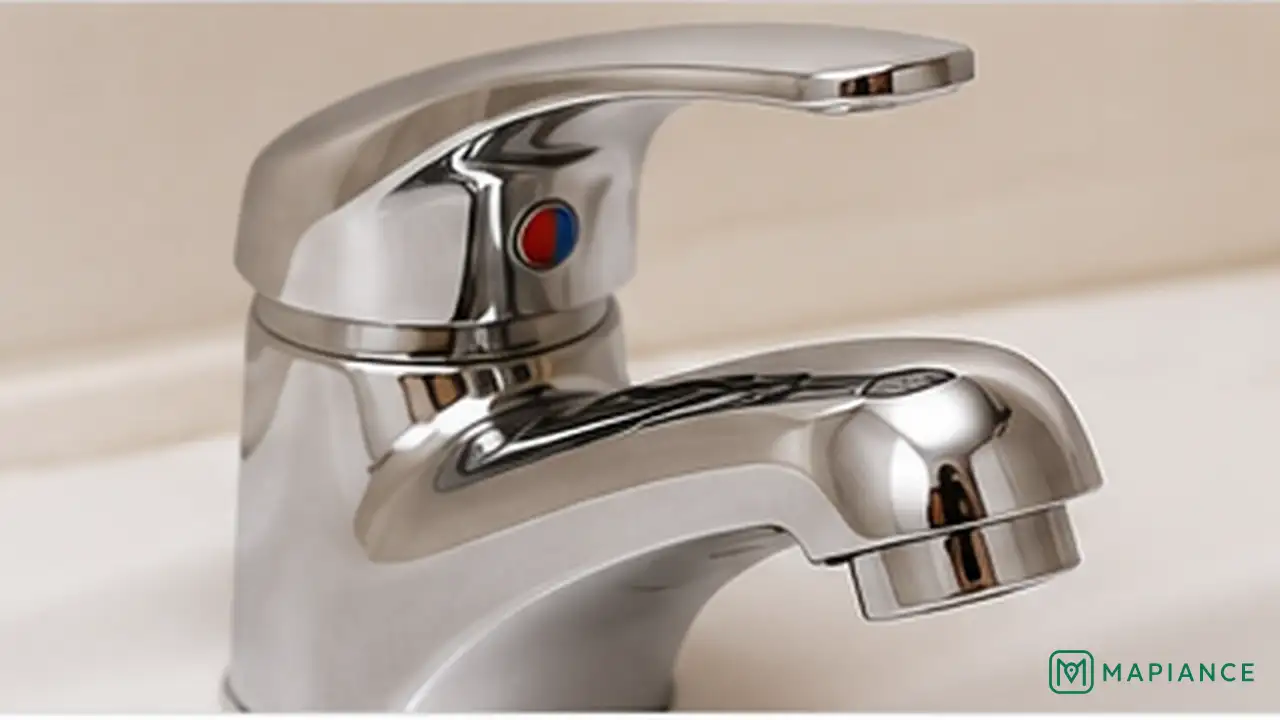
Turn the shutoff valves back on slowly and watch the faucet and supply connections for leaks. Run both hot and cold water, then close the faucet and wait to see whether the dripping stops. If the faucet still leaks, recheck the replacement part and valve seat. A damaged faucet body, corroded valve seat, or leaking supply line may require professional repair or replacement.
Tips & common mistakes
Tips for best results
- Take a photo of the faucet parts before removing them so you can copy the original order during reassembly.
- Bring the old cartridge, washer, or O-ring when buying a replacement because similar-looking faucet parts are not always interchangeable.
- Use a rag between a wrench and finished faucet surfaces to reduce the chance of scratches.
- If mineral buildup makes a cartridge difficult to remove, use a cartridge puller made for that faucet style instead of forcing it sideways.
- Check the supply lines while the cabinet is open so you can catch separate leaks early.
Common mistakes
- Taking the faucet apart before shutting off the water: Pressurized water can spray into the cabinet or room.
- Buying a replacement part based only on appearance: Faucet cartridges and seals need to match the original dimensions and design.
- Overtightening retaining nuts or plastic parts: Excess force can crack components or make the faucet difficult to operate.
- Using petroleum grease on seals that require silicone plumber's grease: The wrong lubricant can damage some rubber materials.
- Assuming every drip comes from the same part: A leak from the spout, handle, base, or supply line can have different causes.
Frequently asked questions
What usually causes a faucet to drip?
Common causes include a worn washer, damaged O-ring, failed cartridge, worn valve seal, or mineral buildup that prevents an internal sealing surface from closing fully.
Do I need to replace the whole faucet if it leaks?
Usually not. Many faucet leaks can be fixed by replacing a small internal part such as a washer, O-ring, cartridge, or valve assembly.
How do I know which faucet cartridge to buy?
Remove the old cartridge and match its shape, dimensions, tabs, and manufacturer information. Taking the original part to a plumbing supplier is often the easiest way to find the correct replacement.
Why is my faucet still leaking after I replaced the cartridge?
The replacement may be installed incorrectly, another seal may be damaged, or the valve seat or faucet body may be worn. Recheck the parts and inspect for corrosion or damage.
When should I call a plumber for a leaky faucet?
Call a plumber if the shutoff valves do not work, the faucet body is cracked, supply lines leak, the valve seat is badly damaged, or the faucet continues leaking after the correct replacement parts are installed.
Written by Mapiance Editorial Team
The Mapiance Editorial Team researches, writes, reviews, and maintains practical guides and explainers for MAPIANCE.
Published Aug 27, 2026 · Updated Sep 17, 2026