 MAPI
MAPIHow to Fix and Prevent Cracks in Air-Dry Clay
Air-dry clay can crack when different parts dry at different speeds, when sections are too thick, or when attached pieces are not joined securely. Small cracks can often be repaired with fresh clay, but prevention gives the best result. Work with even thickness, use only enough water to smooth the surface, and let the finished piece dry slowly and evenly.
For small cracks, press fresh air-dry clay or a compatible clay slip into the damaged area, smooth it with a damp fingertip or tool, and let the repair dry slowly. To prevent new cracks, keep the piece evenly thick, avoid adding too much water, join parts securely, and dry the project gradually away from strong heat or direct sun.
Things you'll need
- Matching air-dry clay
- Small bowl of clean water
- Clay sculpting tool or wooden craft stick
- Soft brush or fingertip for smoothing
- Plastic sheet or loose cover for slow drying
- Fine sandpaper for fully dry clay if the manufacturer allows sanding
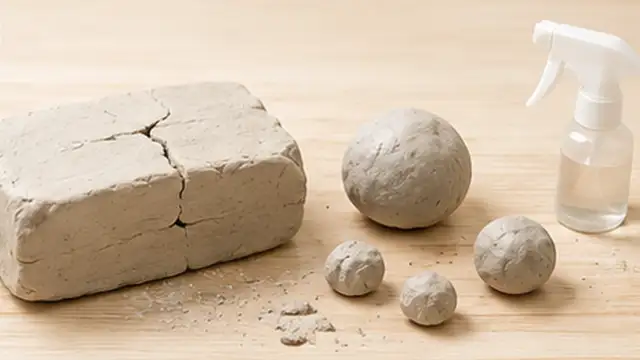
Check the crack and clay condition
Look closely at the cracked area before repairing it. If the clay is still slightly damp, the repair can usually blend more easily. If the piece is fully dry, remove loose crumbs and dust first. Large structural breaks may need more than a surface patch, so make sure the damaged area is stable before continuing.
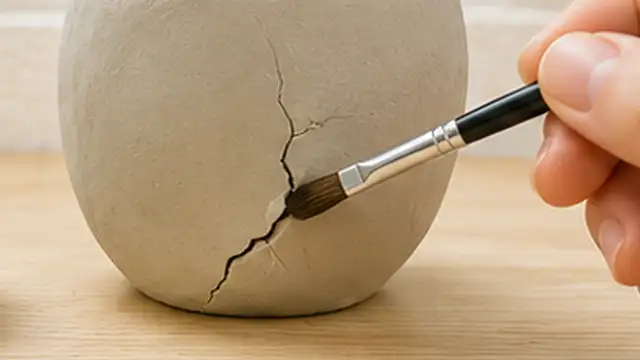
Fill the crack with fresh clay
Take a small amount of matching air-dry clay and press it firmly into the crack. Use only enough clay to fill the gap rather than building a thick mound on top. For a very narrow crack, soften a tiny amount of clay with a few drops of water to make a thick paste, but avoid making it runny.
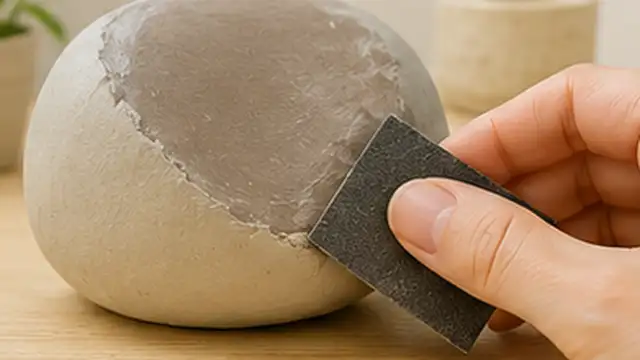
Smooth the repaired area
Blend the new clay into the surrounding surface with a fingertip, soft brush, or clay tool. Use only a little water to reduce drag and smooth the edges of the repair. Too much water can weaken the surface and increase the risk of more cracking as the clay dries.
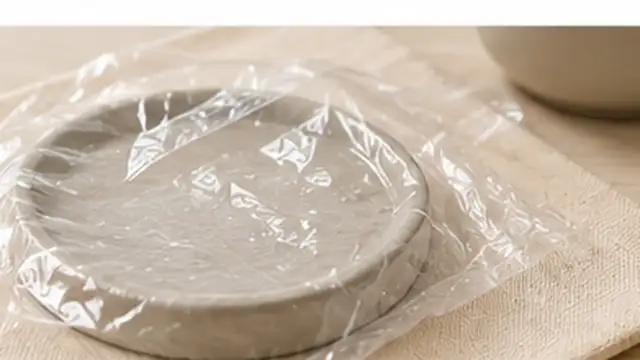
Dry the repair slowly
Place the repaired piece on a flat surface away from direct sunlight, heaters, fans, and strong drafts. Cover it loosely with plastic or place it in a partly covered container so moisture leaves gradually. Turn the piece occasionally if its shape allows so different sides dry more evenly.
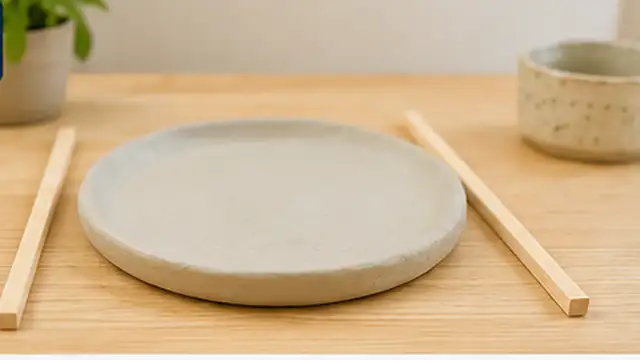
Keep future pieces evenly thick
When making a new project, keep walls and flat sections as even in thickness as possible. Thick areas stay wet longer than thin areas, which creates stress while the piece dries. Avoid very thick solid forms when a hollow shape or thinner construction can achieve the same design.
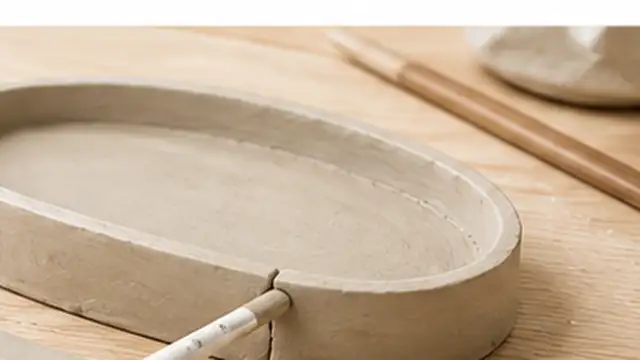
Join attached parts securely
For handles, decorations, or separate clay pieces, roughen the two contact surfaces lightly, add a small amount of clay slip or softened clay, then press the parts together firmly. Smooth the join so there are no visible gaps. Weak or dry joins are common places for cracks to begin.
Tips & common mistakes
Tips for best results
- Use as little extra water as possible while shaping because very wet areas can shrink more during drying.
- Dry large or thick projects more slowly than small thin pieces by covering them loosely at first.
- Support handles, legs, or other projecting parts while they dry so their weight does not pull on the join.
- Store unused air-dry clay tightly sealed so it stays workable and does not develop dry crumbs.
- If the clay brand gives specific drying or repair instructions, follow those directions because formulas vary.
Common mistakes
- Drying the piece beside a heater or in direct sun: Fast surface drying can create stress between the outside and the wetter interior.
- Adding too much water while smoothing: Excess moisture can weaken the surface and cause uneven shrinkage.
- Making some areas much thicker than others: Uneven thickness makes different sections dry and shrink at different rates.
- Attaching pieces without preparing the join: Smooth dry surfaces may separate or crack because they do not bond strongly.
- Sanding before the clay is fully dry: Damp clay can tear, smear, or weaken instead of sanding cleanly.
Frequently asked questions
Why does my air-dry clay crack while drying?
Common causes include uneven thickness, drying too quickly, using too much water, weak joins, and thick areas drying more slowly than thin ones.
Can I fix cracks after air-dry clay is completely dry?
Small cracks can often be filled with fresh matching clay or a thick clay paste, then smoothed and dried slowly. Deep structural cracks may be harder to repair permanently.
Does adding water stop air-dry clay from cracking?
A small amount of water can help smooth and join clay, but too much water can increase shrinkage and make cracking more likely.
Should I cover air-dry clay while it dries?
A loose plastic cover can slow moisture loss and help large or uneven pieces dry more evenly. Do not seal the piece completely because moisture still needs to escape.
Can I sand a repaired air-dry clay crack?
If the clay manufacturer allows sanding, wait until the repair is completely dry and use fine sandpaper gently to blend small surface irregularities.
Written by Mapiance Editorial Team
The Mapiance Editorial Team researches, writes, reviews, and maintains practical guides and explainers for MAPIANCE.
Published Aug 22, 2026 · Updated Sep 30, 2026