 MAPI
MAPIHow to Fix Puckered Hand Embroidery
Puckering happens when embroidery stitches pull the fabric inward instead of resting on the surface. The most common causes are stitches pulled too tight, fabric that was not held evenly in the hoop, very dense stitching, or thin fabric without enough support. Mild puckering can often be improved by reshaping the fabric, but severe puckering usually needs some stitches to be corrected.
Remove the fabric from the hoop first and let it relax. If the puckering is mild, gently wash or dampen the piece if the materials are washable, reshape it flat, and let it dry. If the fabric is still pulled in around the stitches, loosen or remove the tightest stitches and restitch them with less tension.
Things you'll need
- Embroidery scissors or small thread snips
- Blunt tapestry needle or embroidery needle
- Clean towel
- Embroidery hoop
- Iron and pressing cloth if the fabric can be pressed
- Lightweight stabilizer for future stitching if needed
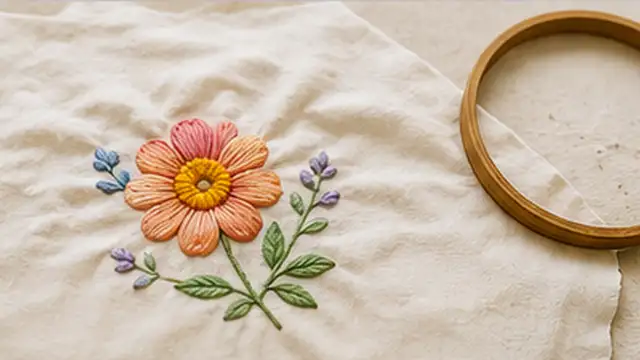
Remove the fabric from the hoop
Take the embroidery out of the hoop and lay it flat for a few minutes. Hoop tension can make puckering look worse while the fabric is stretched. Check whether the fabric relaxes on its own and identify the areas where the stitches are pulling the cloth inward.
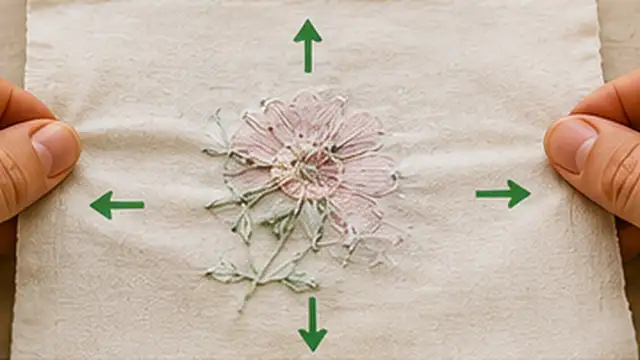
Gently reshape mild puckering
If the fabric and threads are washable, lightly dampen or wash the finished piece using a method suitable for the materials. Lay it flat on a clean towel and gently ease the fabric back into shape with your fingers. Do not stretch the embroidery hard or pull individual stitched areas out of shape.
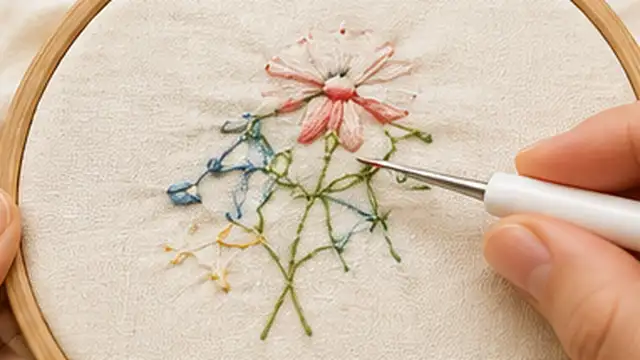
Loosen or remove stitches that pull too tightly
If one section is still puckered, look for stitches that are visibly pulling the fabric toward the design. Carefully loosen them with a blunt needle if possible. When the tension cannot be relaxed safely, remove only the problem stitches with small thread snips and restitch that section instead of cutting into the fabric.
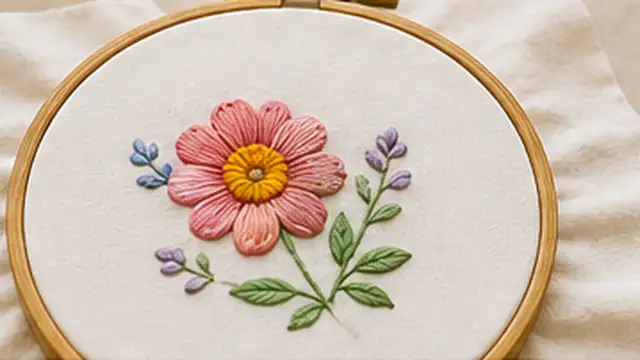
Restitch with lighter tension
Place the fabric back in the hoop so it is smooth and firm but not stretched out of shape. Restitch the removed section and pull each stitch only until it lies neatly on the surface. The thread should not create a dent around the stitch or draw the fabric edges toward the design.
Press the finished piece from the back
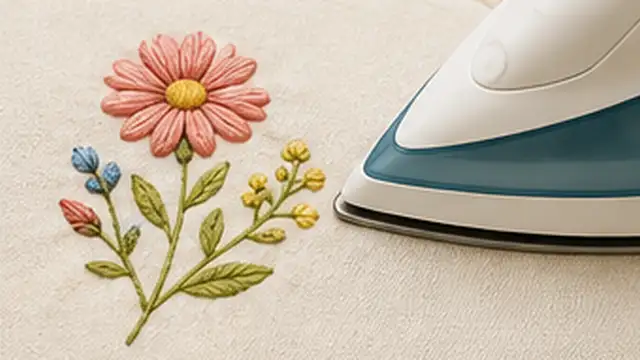
When the embroidery is clean, dry, and flat, place it face down on a thick clean towel so the stitches are cushioned. Cover the back with a pressing cloth and use a temperature suitable for the fabric and thread. Press gently instead of sliding the iron across the embroidery. Skip heat if the thread, fabric, beads, or other decorations cannot be safely pressed.
Prevent puckering on the next project
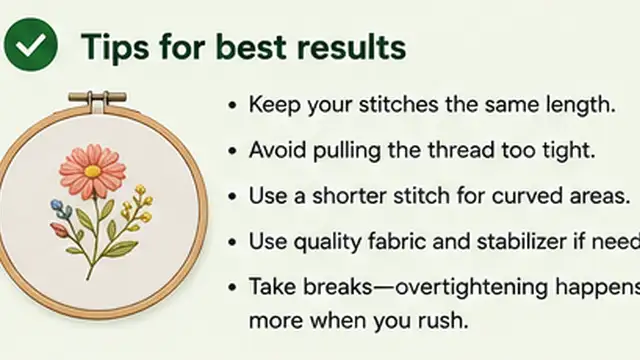
Keep the fabric evenly firm in the hoop while stitching, but do not stretch it beyond its natural shape. Avoid pulling stitches tight after the thread reaches the fabric. For thin, stretchy, or heavily stitched fabric, use a suitable lightweight stabilizer so dense areas have more support.
Tips & common mistakes
Tips for best results
- Check the fabric from the side while stitching; a small ridge around the design is an early sign that the thread tension is too tight.
- Let each stitch rest on the fabric rather than pulling until the thread feels tight.
- Move the hoop when you reach its edge instead of stretching across a loose area of fabric.
- Use shorter lengths of thread if twisting or tangling makes you pull harder than normal.
- Test washing, blocking, or pressing on a fabric and thread sample when you are unsure how the materials will react.
Common mistakes
- Pulling every stitch firmly: Hand embroidery thread only needs enough tension to sit neatly against the fabric.
- Stretching fabric too tightly in the hoop: Fabric that is distorted while stitching can change shape when the hoop is removed.
- Trying to flatten severe puckering with heat alone: Tight stitches may continue pulling the fabric even after pressing.
- Cutting stitches too quickly: Work slowly so the scissors or thread snips do not damage the fabric underneath.
- Using no support on very thin fabric with dense stitching: A lightweight stabilizer can help distribute the stress of closely packed stitches.
Frequently asked questions
Can puckered hand embroidery be fixed without removing stitches?
Mild puckering often improves after the fabric is removed from the hoop and gently reshaped. If stitches are pulling the fabric tightly inward, some of them may need to be loosened or restitched.
Why does my embroidery pucker when I remove the hoop?
The fabric may have been stretched in the hoop or the stitches may have been pulled too tightly. When the hoop is removed, the fabric relaxes while the stitches stay fixed, which can create wrinkles.
Should embroidery fabric be drum tight in the hoop?
It should be smooth and firm enough to stitch comfortably, but it should not be stretched beyond its natural shape. Excessive hoop tension can contribute to distortion.
Can I iron puckered embroidery flat?
Pressing can improve mild wrinkles, but it will not solve stitches that are pulling the fabric too tightly. Press from the back over a towel and use heat only if the materials allow it.
Does stabilizer help prevent embroidery puckering?
Yes. A suitable lightweight stabilizer can support thin, stretchy, or densely stitched fabric and reduce distortion while you work.
Written by Mapiance Editorial Team
The Mapiance Editorial Team researches, writes, reviews, and maintains practical guides and explainers for MAPIANCE.
Published Aug 25, 2026 · Updated Sep 25, 2026