 MAPI
MAPIHow to Make Pressed Flower Art
Pressed flower art keeps the shape and color of real flowers in a flat design that can be framed, added to cards, or used in other paper crafts. The best results come from flowers that are fresh but dry on the surface, with thin petals and little trapped moisture. Take your time when handling the dried flowers because they become delicate after pressing.
Press fresh, dry flowers between absorbent paper under a heavy book or in a flower press until they are fully dry and flat. Arrange them on sturdy paper, attach them with tiny amounts of clear-drying glue, then frame the finished design away from strong direct sunlight.
Things you'll need
- Fresh flowers or leaves
- Absorbent paper such as plain printer paper or blotting paper
- Heavy books or a flower press
- Sturdy acid-free paper or cardstock
- Tweezers
- Small paintbrush or toothpick
- Clear-drying craft glue or archival PVA glue
- Picture frame
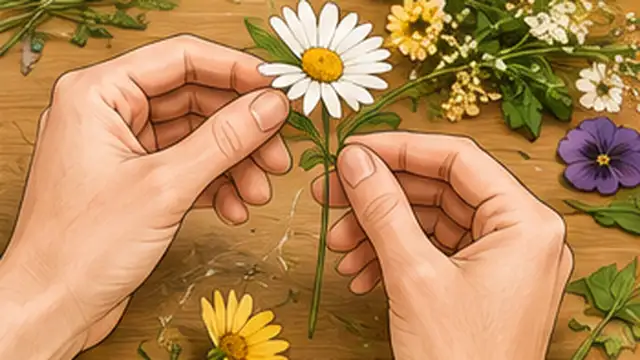
Choose flowers that press well
Pick flowers that are fresh and dry on the surface. Flat or naturally thin flowers such as pansies, daisies, violas, small wildflowers, ferns, and individual petals are easier to press than thick, fleshy blooms. Remove damaged petals and avoid flowers that are wet from rain or dew because extra moisture can cause browning or mold.
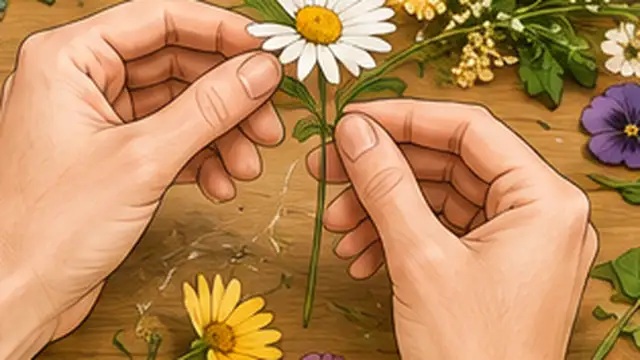
Prepare the flowers for pressing
Trim away bulky stems and remove any parts that make the flower too thick to lie flat. Place the flower face down or in the position you want it to keep. Gently spread folded petals with your fingers or tweezers before closing the paper over it, because you will not be able to reshape it easily once it is dry.
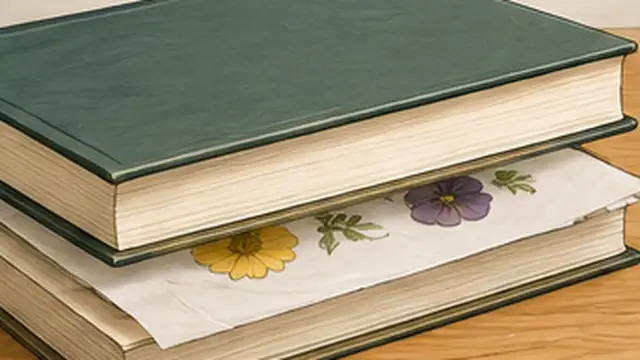
Press the flowers flat
Place each flower between two sheets of clean absorbent paper. Put the paper inside a heavy book, then stack more books on top, or tighten it inside a flower press. Keep flowers from overlapping so moisture can escape evenly. Store the press in a dry place where it will not be disturbed.
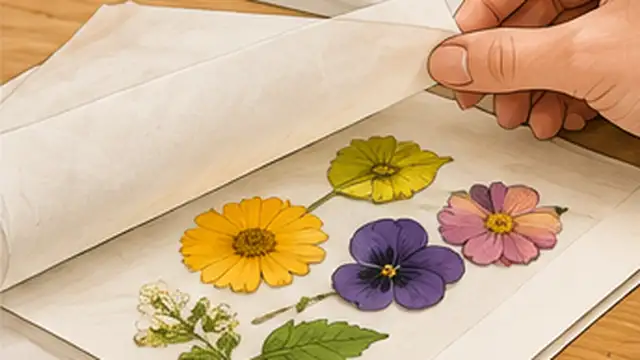
Let the flowers dry completely
Leave the flowers pressed for about 1 to 3 weeks, depending on their thickness and moisture level. Check thicker flowers after several days and replace damp paper if necessary. The flowers are ready when they feel dry and papery rather than cool, soft, or flexible. Lift them carefully because dried petals can tear easily.
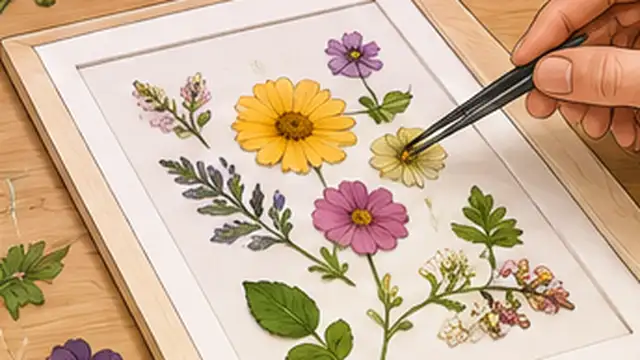
Arrange the design before gluing
Place the dried flowers on sturdy acid-free paper or cardstock and move them around until the composition feels balanced. Start with the larger flowers, then add smaller petals, stems, and leaves around them. Use tweezers for fragile pieces and leave enough empty space around the design if it will go inside a frame.
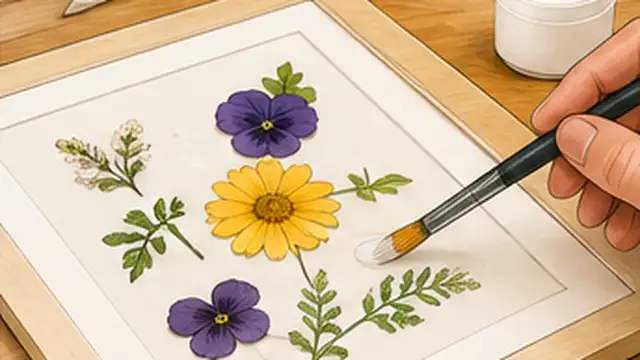
Glue and frame the finished art
Lift one flower at a time and apply a very small amount of clear-drying glue to the back with a toothpick or small brush. Press it gently onto the paper without crushing the petals, then let the glue dry fully. Place the artwork in a clean frame and display it away from strong direct sunlight and damp areas to help slow fading and moisture damage.
Tips & common mistakes
Tips for best results
- Press extra flowers so you have replacements if a delicate petal tears during arranging.
- Use plain absorbent paper without printed ink touching the flowers, because moisture can transfer color or marks.
- Thin flowers usually keep their shape and color better than thick flowers with fleshy centers.
- Take a quick photo of your arrangement before gluing so you can rebuild the design if pieces move.
- Use acid-free backing paper and a clean frame if you want the finished art to age more slowly.
Common mistakes
- Pressing flowers while they are wet: Trapped moisture can cause dark spots, browning, or mold.
- Using non-absorbent paper around fresh flowers: Moisture needs somewhere to escape while the flowers dry.
- Overlapping flowers inside the press: Thick stacked areas dry unevenly and can stick together.
- Using too much glue: Excess glue can soak through delicate petals and leave visible marks.
- Displaying the finished piece in strong direct sun: Natural flower colors can fade more quickly with intense light.
Frequently asked questions
How long does it take to press flowers?
Most flowers need about 1 to 3 weeks in a book or flower press. Thin flowers may dry sooner, while thicker flowers can take longer.
What flowers are easiest to use for pressed flower art?
Naturally flat or thin flowers such as pansies, violas, daisies, small wildflowers, ferns, and individual petals are usually easier to press cleanly.
Can I press flowers in a normal book?
Yes. Place the flowers between absorbent paper before putting them inside the book so moisture does not transfer directly to the pages.
What glue should I use for pressed flowers?
A clear-drying craft glue or archival PVA works well when used very sparingly. Apply tiny amounts with a toothpick or small brush.
How do I keep pressed flower art from fading?
Keep the finished artwork away from strong direct sunlight, high humidity, and damp areas. Acid-free paper and a clean protective frame can also help it last longer.
Written by Mapiance Editorial Team
The Mapiance Editorial Team researches, writes, reviews, and maintains practical guides and explainers for MAPIANCE.
Published Aug 23, 2026 · Updated Oct 2, 2026