 MAPI
MAPIHow to Patch a Hole in Drywall
Drywall holes are easier to hide when the repair is built up in thin, flat layers instead of one thick coat. Small nail and screw holes usually need only compound, while larger holes may need a mesh patch or a new piece of drywall with backing support. Before cutting into the wall, make sure the repair area is clear of electrical wires, plumbing, and other hidden services.
Clean the damaged area, choose a patch that fits the hole size, secure the patch, then cover it with thin coats of joint compound. Let each coat dry, sand the repair smooth, and finish with primer and paint.
Things you'll need
- Utility knife
- Putty knife or drywall taping knife
- Joint compound
- Drywall patch, mesh patch, or replacement drywall piece as needed
- Backing strips and drywall screws for a larger cut-out repair
- Fine-grit sanding sponge
- Primer
- Matching wall paint
- Dust mask and eye protection for sanding
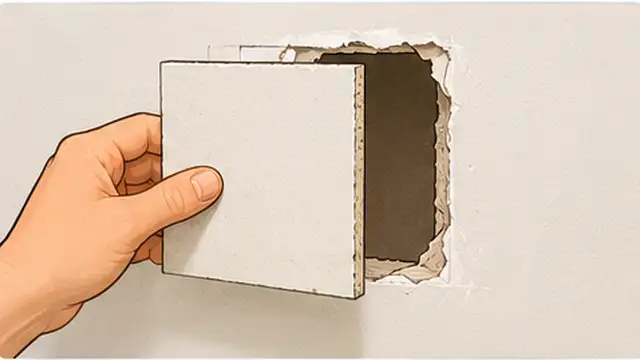
Choose the right patch method
Look at the size and shape of the damage before starting. Tiny nail or screw holes can usually be filled directly with joint compound. A small opening may work with a self-adhesive mesh patch, while a larger broken section is usually cleaner to repair by cutting a neat shape and fitting a new piece of drywall over backing strips.
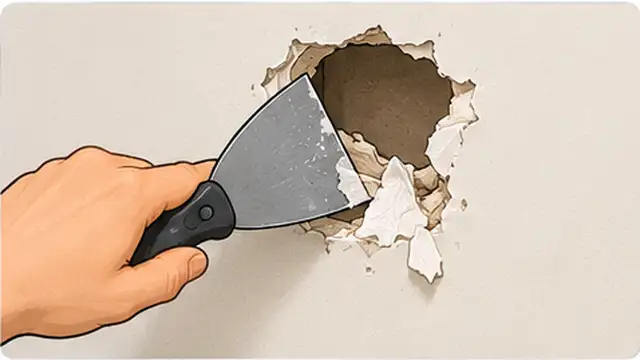
Trim loose drywall and paper
Use a utility knife to remove loose paper, broken gypsum, and raised edges around the hole. Keep the cut shallow and controlled. For a larger repair, square or rectangular cuts are easier to match with a new drywall piece, but do not cut deeper until you know there are no wires or pipes behind the wall.
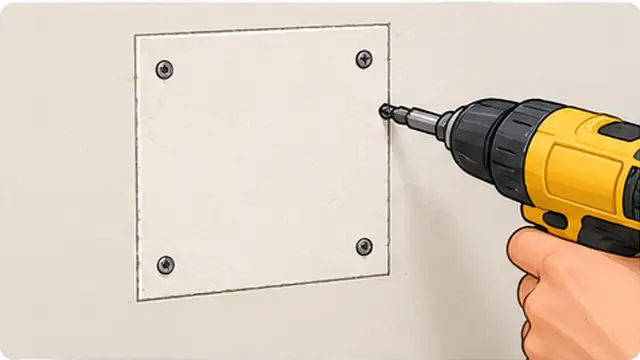
Install the patch
For a small mesh repair, center the patch over the hole and press it flat to the wall. For a larger cut-out, place backing strips behind the opening and screw them through the existing drywall, then fasten a matching drywall piece to the backing. The patch should sit level with the surrounding wall instead of sticking out.
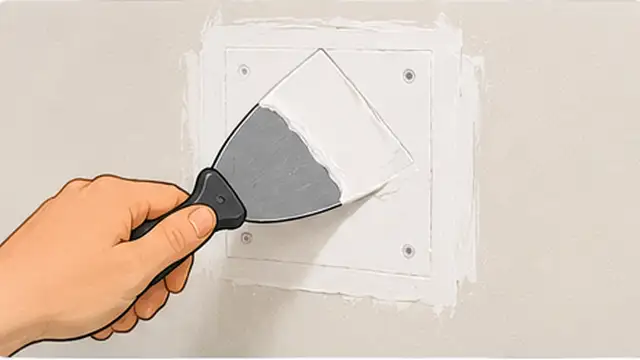
Cover the repair with joint compound
Spread a thin coat of joint compound over the patch and extend it beyond the edges. Feather the outer edge with the knife so the compound becomes thinner as it reaches the painted wall. Let the coat dry fully, then add one or two wider thin coats as needed instead of trying to hide the repair with one thick layer.
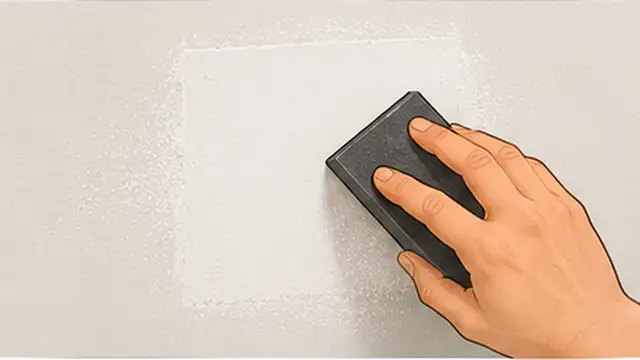
Sand the patch smooth
When the final coat is completely dry, sand the repair lightly with a fine-grit sanding sponge. Blend the edges into the wall without sanding deeply into the patch or exposing mesh or paper. Run your hand across the area and look at it from the side; the transition should feel smooth with no obvious ridge.
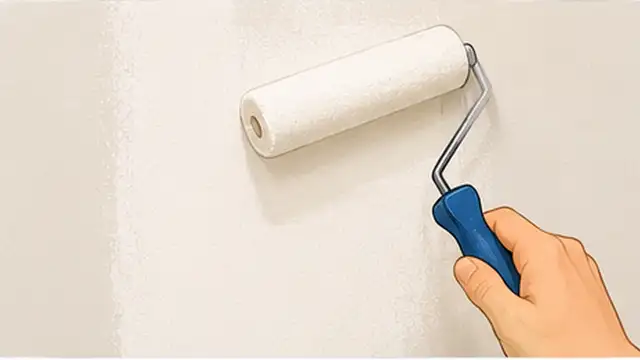
Prime and paint the repair
Remove sanding dust, then apply primer over the repaired area because bare joint compound absorbs paint differently from the surrounding wall. After the primer dries, apply matching wall paint and feather it slightly beyond the patch. A second paint coat may be needed for an even finish.
Tips & common mistakes
Tips for best results
- Use several thin compound coats instead of one heavy coat; thin layers dry more evenly and need less sanding.
- Use a wider taping knife on later coats so the repaired area gradually blends into the wall.
- Shine a lamp across the wall from the side before priming; side light makes ridges and low spots easier to see.
- Match the wall texture before painting if the surrounding drywall has orange peel, knockdown, or another visible texture.
- Vacuum or wipe away sanding dust before primer so the finish bonds evenly.
Common mistakes
- Leaving torn paper and raised gypsum around the hole: Loose material can create bumps under the finished patch.
- Applying joint compound too thickly: Thick coats dry slowly, shrink more, and usually require extra sanding.
- Sanding through the patch: Heavy sanding can expose mesh, drywall paper, or fastener heads and force you to apply more compound.
- Skipping primer: Paint can look dull or uneven where it soaks into bare joint compound.
- Cutting deeply into the wall without checking behind it: Electrical cables or plumbing may be hidden close to the drywall.
Frequently asked questions
Can I patch a small drywall hole without a mesh patch?
Yes. Tiny nail and screw holes can usually be filled directly with joint compound. A mesh or solid patch is more useful when the opening is too large for compound alone.
How many coats of joint compound do I need?
Many repairs need two or three thin coats. The exact number depends on the patch type, wall flatness, and how well each coat is feathered.
How long should drywall compound dry before sanding?
Wait until the compound is fully dry throughout, not just dry on the surface. Drying time varies with product, coat thickness, temperature, and humidity, so follow the compound label.
Do I need primer over a drywall patch?
Yes. Primer seals the porous joint compound so the repaired area does not absorb paint differently from the rest of the wall.
When should I replace a section of drywall instead of using a patch?
Use a replacement drywall piece when the opening is too large or damaged for a simple mesh patch, or when the surrounding drywall is broken, soft, or missing.
Written by Mapiance Editorial Team
The Mapiance Editorial Team researches, writes, reviews, and maintains practical guides and explainers for MAPIANCE.
Published Aug 25, 2026 · Updated Sep 19, 2026