 MAPI
MAPIHow to Remove Mold From Shower Caulk
Shower caulk stays damp longer than most bathroom surfaces, so mold can grow along the joint between the tub, shower base, tile, or wall. Surface growth can often be cleaned, but mold that has worked into damaged or separated caulk may leave permanent staining or return quickly. The most reliable repair is to clean what can be cleaned, dry the area well, and replace caulk that is no longer sound.
Ventilate the bathroom, wash the moldy caulk with detergent and water, scrub gently, rinse, and dry it completely. If dark marks remain inside the caulk or the joint is cracked, loose, or repeatedly moldy, remove the old caulk and replace it after the surface is clean and dry.
Things you'll need
- Rubber or nitrile gloves
- Eye protection
- Mild detergent
- Warm water
- Soft brush or old toothbrush
- Clean cloths or paper towels
- Caulk removal tool and bathroom caulk if replacement is needed
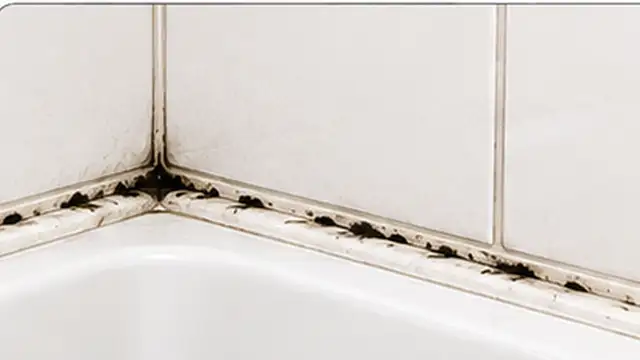
Ventilate and inspect the caulk
Turn on the bathroom exhaust fan or open a window before cleaning. Put on gloves and eye protection, then look closely at the caulk. If the mold is only on the surface and the joint is still smooth and firmly attached, clean it in place. If the caulk is cracked, loose, peeling, or dark underneath the surface, plan to replace that section instead of repeatedly scrubbing it.
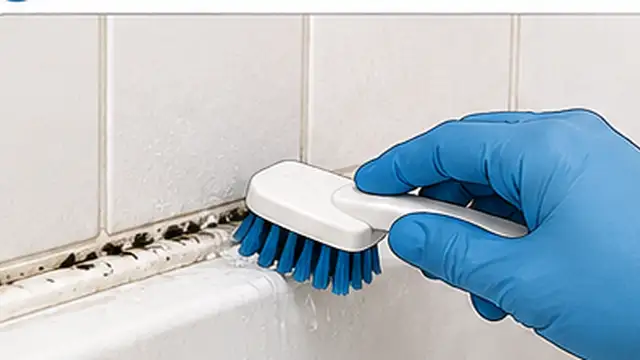
Wash the caulk with detergent and water
Mix a small amount of mild detergent with warm water. Wet a cloth or soft brush with the solution and work it along the caulk line. Scrub the visible mold gently, paying attention to corners where soap residue and moisture collect. Avoid using a stiff metal brush because it can damage the caulk surface.
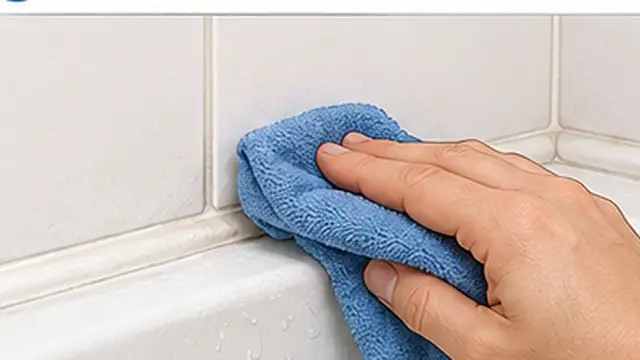
Rinse and dry the joint completely
Wipe the caulk with clean water to remove loosened mold and detergent residue. Dry the joint with a clean cloth, then keep the shower unused until the caulk is fully dry. Removing the moisture matters as much as removing the visible mold because damp caulk encourages new growth.
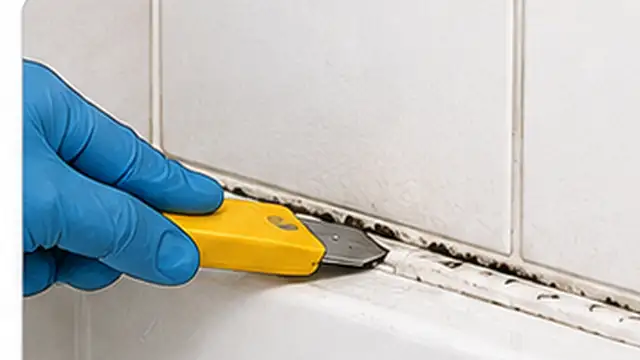
Replace caulk that stays stained or damaged
If dark marks remain inside the caulk after the surface is clean, or if the joint is cracked or separating, remove the affected caulk with a caulk-removal tool. Clean away remaining residue and let the joint dry fully before applying new bathroom caulk that is suitable for wet areas. Do not apply fresh caulk over moldy or damp material.
Keep the caulk drier after showers
Run the exhaust fan during showers and for a while afterward, or open a window when practical. Wipe standing water from the caulk and nearby ledges, and fix any leak that keeps the joint wet. Regular drying and light cleaning make it harder for mold to return.
Tips & common mistakes
Tips for best results
- Clean the caulk before dark spotting becomes heavy; light surface growth is easier to remove than long-standing buildup.
- Use a soft toothbrush for narrow corners where a cloth cannot reach without scraping the caulk.
- Keep the bathroom exhaust fan clean so it can move humid air effectively.
- If the same short section keeps growing mold, check for a leak or water that pools there after every shower.
- For a larger mold problem beyond the shower joint, or mold that appears to extend behind the wall, consider professional assessment instead of treating only the visible caulk.
Common mistakes
- Caulking over visible mold: New caulk can fail to bond well and the moisture problem remains underneath.
- Only trying to kill the mold without removing it: Visible mold and residue still need to be physically cleaned away.
- Using several cleaners together: Mixing cleaning products can create dangerous fumes or unwanted reactions.
- Scrubbing with a sharp or metal tool: This can cut the caulk and create places where water can enter.
- Ignoring recurring moisture: Mold often returns when the joint stays wet because of poor ventilation, leaks, or standing water.
Frequently asked questions
Can mold be removed from silicone shower caulk?
Surface mold can often be cleaned from silicone caulk. If staining is inside the caulk or the joint is damaged, replacement usually gives a better result.
Should I use bleach on moldy shower caulk?
Bleach is not necessary for routine mold cleanup. Start by removing visible mold with detergent and water and drying the area completely. If you use any disinfecting product, follow its label, ventilate the bathroom, and never mix cleaners.
Why does mold keep coming back on shower caulk?
The joint is probably staying damp too long, collecting soap residue, or receiving water from a leak. Better ventilation, regular drying, and repairing damaged caulk reduce recurrence.
When should I replace shower caulk instead of cleaning it?
Replace it when the caulk is cracked, loose, peeling, permanently stained inside, or quickly becomes moldy again after cleaning and drying.
Can I put new caulk over old moldy caulk?
No. Remove the moldy or failing caulk first, clean the joint, let it dry completely, and then apply the new caulk.
Written by Mapiance Editorial Team
The Mapiance Editorial Team researches, writes, reviews, and maintains practical guides and explainers for MAPIANCE.
Published Aug 25, 2026 · Updated Sep 27, 2026