 MAPI
MAPIHow to Stop Weeds From Growing Between Pavers
Weeds between pavers usually grow in dust, soil, and organic matter that settles in the joints rather than from underneath the paving itself. The most reliable way to reduce them is to remove existing weeds, clean the joints, restore the jointing material, and keep debris from building up again. Avoid methods that can damage nearby plants, stain pavers, or wash joint material out of place.
Pull or scrape out the weeds with as much root as possible, clean loose soil from the joints, then refill the gaps with the jointing material recommended for your pavers. Keep the joints full, sweep away new seedlings early, and fix areas where soil or standing water keeps collecting.
Things you'll need
- Gardening gloves
- Weeding knife or narrow hand scraper
- Stiff hand brush or broom
- Small bucket or dustpan
- Jointing sand or jointing material recommended for your pavers
- Garden hose with gentle spray if suitable for the surface
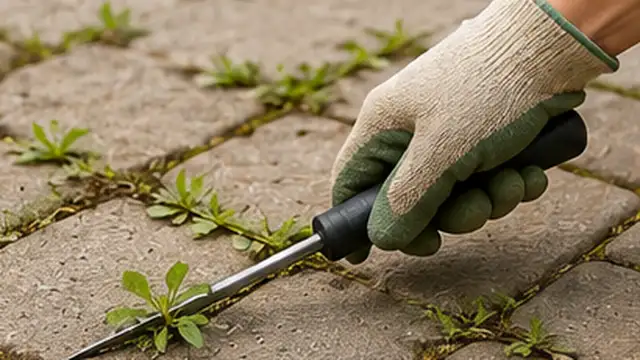
Remove the existing weeds
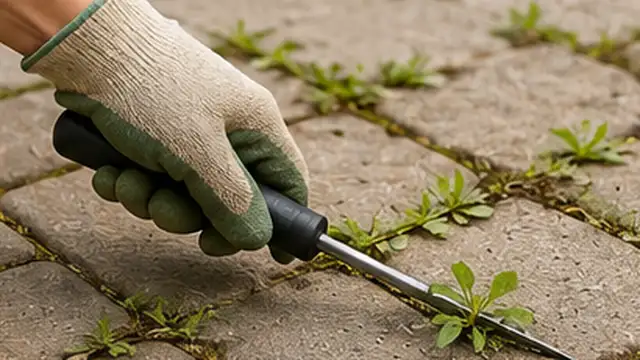
Pull small weeds by hand after rain or lightly dampen the joints first so the roots release more easily. For deeper weeds, use a narrow weeding knife or hand scraper to loosen the roots without chipping the paver edges. Remove as much of the root system as possible instead of only cutting off the leaves.
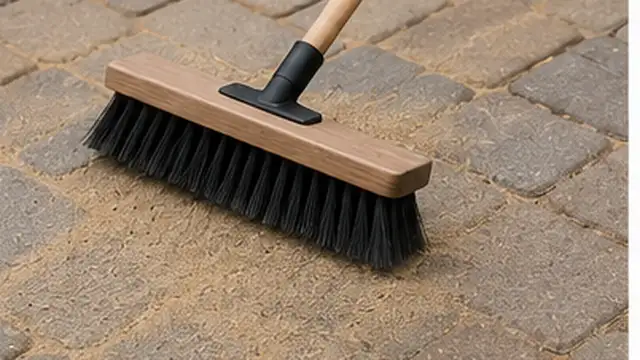
Clean soil and debris from the joints
Brush away loose roots, soil, moss, leaves, and other debris from the joints after the weeds are removed. Use a stiff brush or broom and collect the debris instead of sweeping it back into the gaps. If you rinse the area, use gentle water pressure so you do not wash out stable joint material or undermine the pavers.
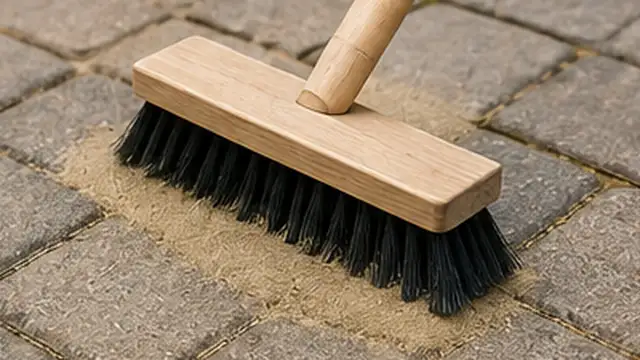
Refill empty or low joints
Once the joints are clean and dry enough for the product you are using, refill low gaps with the jointing sand or other material recommended for your paver system. Sweep it across the surface so it settles into the joints, then follow the product instructions for compaction, watering, or curing. Full joints leave less space for windblown soil and weed seeds to collect.
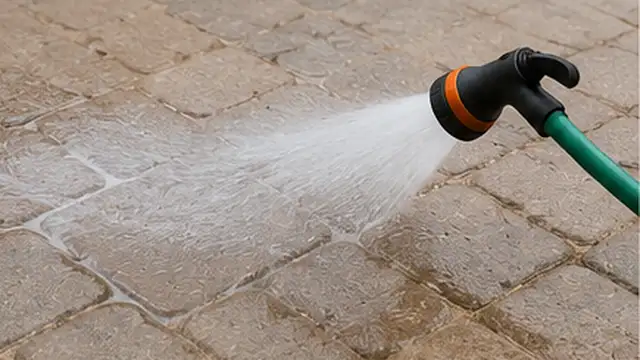
Fix areas that stay damp or dirty
Look for joints where soil keeps washing in or where water regularly sits after rain. Clear nearby leaves and mulch, improve drainage where practical, and correct loose or sunken pavers if they are creating low spots. Constant moisture and organic debris make it easier for weed seeds and moss to establish.
Remove new seedlings early
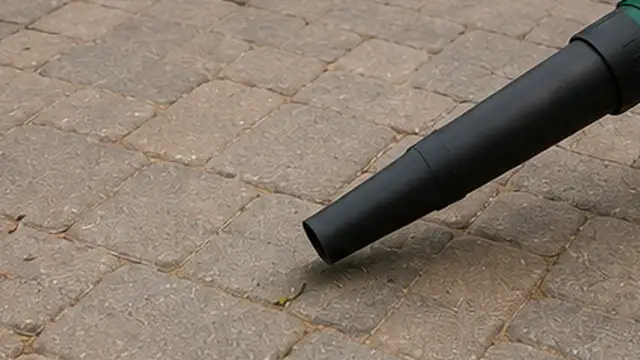
Check the pavers regularly and pull tiny weeds as soon as they appear. Young seedlings are much easier to remove before their roots spread through the joint material. A quick sweep also removes soil, seeds, and organic matter before they can build up in the gaps.
Maintain the joints over time
Inspect the joint level a few times each year, especially after heavy rain, pressure washing, or winter weather. Top up the jointing material when gaps become shallow. Keeping the joints filled and the paver surface clean is more effective than waiting for a large weed problem to return.
Tips & common mistakes
Tips for best results
- Pull weeds after rain or after lightly dampening the joints because moist soil releases roots more easily.
- Sweep patios and paths regularly so leaves and soil do not break down inside the joints.
- Use the jointing material recommended for your specific paver system because installation and curing requirements vary.
- If you pressure wash pavers, use a suitable setting and restore any joint material that is removed.
- Keep garden soil, mulch, and lawn edges from spilling onto the paver surface whenever possible.
Common mistakes
- Cutting only the weed tops: Leaving the roots in place allows many weeds to grow back quickly.
- Using very high pressure between the pavers: Strong pressure can remove jointing sand and create deeper gaps for future weeds.
- Refilling dirty joints: New jointing material works better when loose soil, roots, and organic matter are removed first.
- Ignoring drainage problems: Areas that stay wet collect more debris and create better conditions for weeds and moss.
- Using salt or harsh chemicals near plants and masonry: These products can damage nearby vegetation, affect soil, stain surfaces, or harm some paver materials.
Frequently asked questions
Why do weeds grow between pavers even with a base underneath?
Most weeds start from seeds that land in soil, dust, and organic matter collected in the joints. They do not always grow up from the ground below the pavers.
Does jointing sand stop weeds completely?
No method guarantees zero weeds, but properly filled and maintained joints reduce the space where soil and seeds can collect and make new weeds easier to control.
Can I pressure wash weeds out from between pavers?
Pressure washing can remove weeds and debris, but it can also wash out jointing material. If you use it, choose a suitable setting for the pavers and refill the joints afterward when needed.
Is boiling water safe for weeds between pavers?
Hot water can damage weeds, but it can also harm nearby plants and may affect some sealers or materials. Mechanical removal is easier to control around valuable landscaping and finished surfaces.
How often should I check for weeds between pavers?
A quick check every few weeks during the growing season makes maintenance easier. Pulling small seedlings early prevents them from developing larger root systems.
Written by Mapiance Editorial Team
The Mapiance Editorial Team researches, writes, reviews, and maintains practical guides and explainers for MAPIANCE.
Published Aug 22, 2026 · Updated Oct 2, 2026