 MAPI
MAPIHow to Transfer an Embroidery Pattern to Fabric
A good embroidery transfer should leave lines that are easy to follow but not difficult to remove later. The best method depends on the fabric color, thickness, texture, and the tools you have. Smooth light fabric is usually easiest to trace, while dark, thick, or textured fabric often works better with transfer paper or water-soluble stabilizer. Test your marker or transfer material before starting because some marks can stain, fade too soon, or become difficult to remove.
For light-colored fabric, place the pattern under the fabric and trace it with a removable fabric marker using a lightbox or bright window. For dark or thick fabric, use dressmaker's transfer paper or a water-soluble stabilizer, and always test the marking method on a scrap first.
Things you'll need
- Printed or hand-drawn embroidery pattern
- Fabric
- Removable fabric marker or pencil suitable for the fabric
- Tape or pins
- Lightbox or bright window for tracing, if suitable
- Dressmaker's transfer paper and stylus for opaque fabric, if needed
- Water-soluble stabilizer for difficult fabrics, if needed
- Small scrap of the same fabric for testing
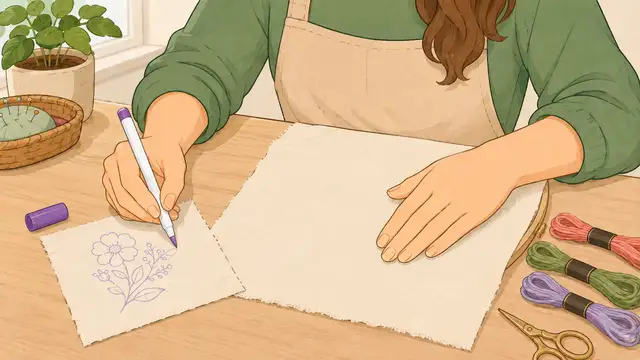
Prepare and test the fabric
Wash and dry the fabric first if the finished project will normally be washed, then press it flat. Test your marker, transfer paper, or stabilizer on a small scrap of the same fabric. Make sure the line is visible enough to stitch over and that it can be removed in the way the product instructions describe.
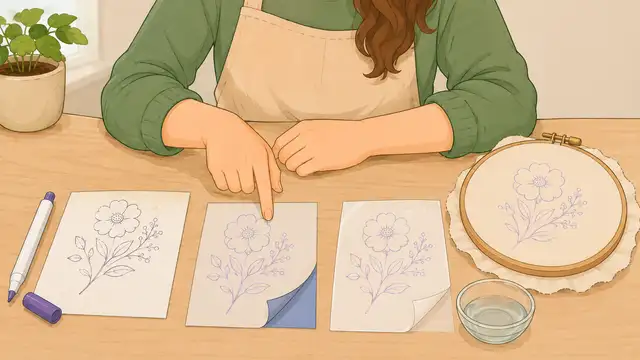
Choose the transfer method
Use tracing when the fabric is light-colored and thin enough to see the pattern through it. Use dressmaker's transfer paper when the fabric is too opaque to trace. For dark, textured, or difficult fabric, a water-soluble stabilizer can be easier because the design sits on top of the fabric while you stitch.
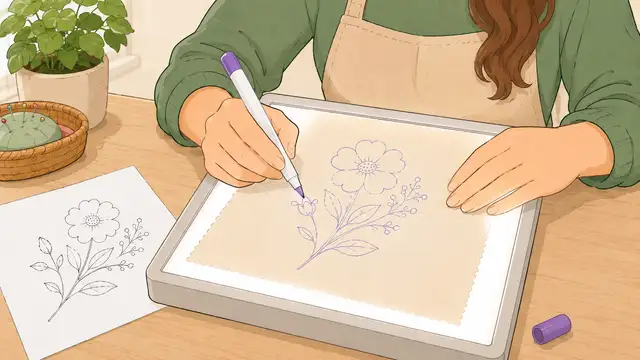
Position the pattern
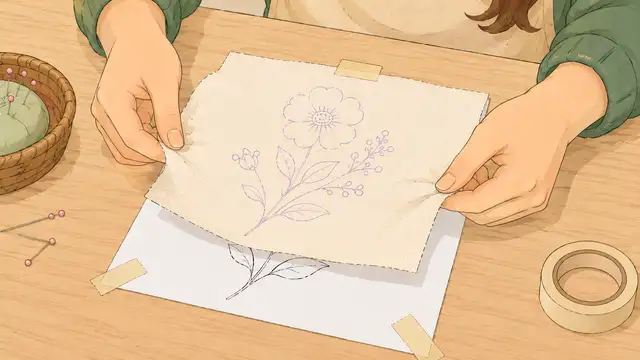
Lay the fabric flat and decide exactly where the design should sit. Place the paper pattern behind the fabric for tracing, or place transfer paper between the pattern and fabric if you are using that method. Secure the layers with small pieces of tape or pins so nothing shifts while you copy the design.
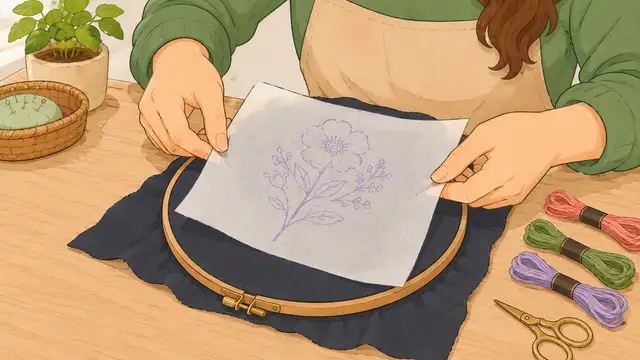
Trace or transfer the design
For tracing, place the layered fabric and pattern on a lightbox or against a bright window and copy the main lines with a removable fabric marker. If you are using transfer paper, follow the printed lines with a stylus or blunt tracing tool using light, even pressure. Keep the lines thin because thick marks are harder to hide under embroidery stitches.
Use stabilizer for difficult fabric
If the fabric is dark, thick, stretchy, or textured, trace or print the design onto a water-soluble stabilizer that is made for embroidery. Attach the stabilizer securely to the front of the fabric, following its instructions, then stitch through both layers. The stabilizer can be removed after the embroidery is finished using the method recommended by the manufacturer.
Check the design before stitching
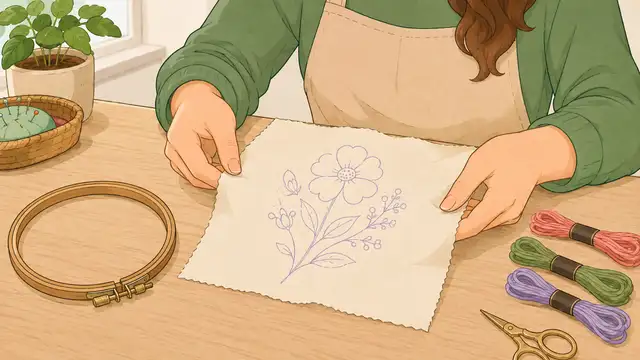
Remove the paper pattern and check that the transferred lines are complete, centered, and easy to follow. Add only the small missing sections you need rather than redrawing the whole design. Once the placement looks correct, put the fabric in the embroidery hoop and begin stitching. Remove any remaining marks later according to the marker or stabilizer instructions.
Tips & common mistakes
Tips for best results
- Use the thinnest clear transfer line you can see; embroidery stitches cover fine lines more easily than heavy ones.
- Test removal on a scrap even when a marker is sold as washable or erasable, because fabrics and dyes can react differently.
- For a symmetrical design, mark a light center line on the fabric first so the pattern is easier to position accurately.
- If the design has many tiny details, simplify lines that will be completely covered by stitches instead of tracing every small mark.
- Keep the original pattern nearby while stitching so you can check details if a transferred line fades.
Common mistakes
- Using a normal pen or permanent marker: The ink may show through the stitches or remain permanently in the fabric.
- Pressing too hard with transfer paper: Heavy lines can be difficult to remove and may spread beyond the stitched area.
- Letting the pattern shift while tracing: Even a small movement can create doubled or misaligned lines.
- Using heat on an unknown erasable marker: Some heat-sensitive marks can behave unpredictably or reappear later, so follow the marker instructions instead.
- Skipping the test piece: A transfer method that works on one fabric may stain, fade, or fail on another.
Frequently asked questions
What is the easiest way to transfer an embroidery pattern to light fabric?
Tracing with a removable fabric marker over a lightbox or bright window is usually the simplest method when the pattern can be seen through the fabric.
How do I transfer an embroidery pattern to dark fabric?
Use light-colored dressmaker's transfer paper or a water-soluble stabilizer placed on top of the fabric. Test the method first to make sure the marks are clear and removable.
Can I use a regular pencil to transfer an embroidery pattern?
A regular pencil can leave graphite that is difficult to remove from some fabrics. A fabric marking pencil or removable fabric marker is usually safer.
Can I print directly onto water-soluble stabilizer?
Some printable water-soluble stabilizers are designed for home printers. Use only a product labeled as printable and follow its printer and removal instructions.
When should I remove the transfer marks?
Remove visible marks after the embroidery is complete, using the exact method recommended for your marker, transfer paper, or stabilizer. Do not assume every product removes with water or heat.
Written by Mapiance Editorial Team
The Mapiance Editorial Team researches, writes, reviews, and maintains practical guides and explainers for MAPIANCE.
Published Aug 24, 2026 · Updated Sep 9, 2026